 0
0
 0
0
Paper Halloween decorations are one of the easiest, most budget-friendly ways to transform your home for the season, and right now, stores like Michaels and Dollar Tree across Canada are stocked with everything from DIY craft kits to ready-made papercrafts your kids will love helping with. Whether you’re looking to pick up a simple kit or gather supplies to create your own spooky banners and window art, paper decorations give you that festive Halloween vibe without the price tag or storage headaches of bulkier decor.
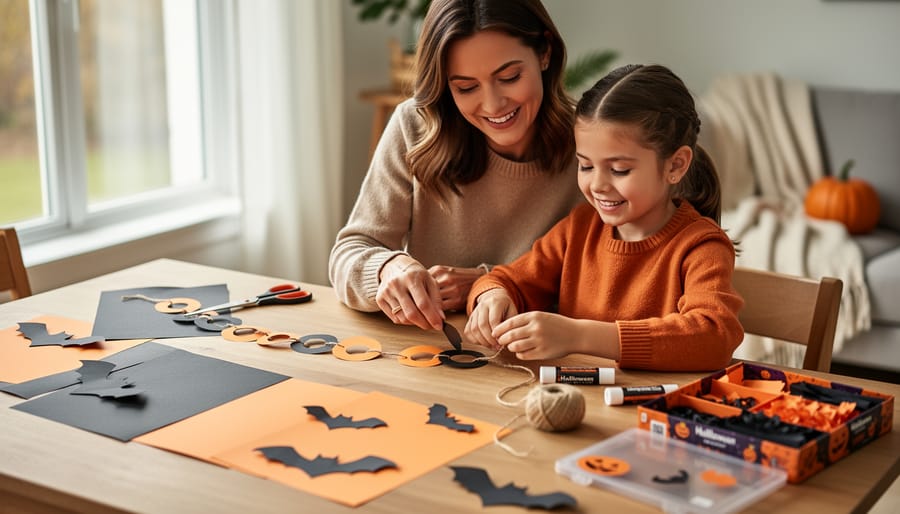
I still remember the first time my daughter and I sat down with construction paper and scissors to make paper bats for our windows. What started as a rainy afternoon activity turned into an annual tradition, and now she’s old enough to design her own paper garlands and haunted house silhouettes. There’s something special about decorations you’ve made together: they carry memories in a way store-bought inflatables never will.
The beauty of paper crafts is that they meet you where you are. If you’re short on time, grab a pre-packaged kit that includes everything from cardstock to twine and follow the simple instructions. If you’re feeling creative, Michaels’ Halloween papercrafting section offers supplies for projects like eerie greeting cards and festive banners, with convenient pickup and delivery options so you don’t even need to wrangle the kids through the aisles. Dollar Tree carries colorful treat bags and craft paper at prices that won’t make you wince, perfect for classrooms or playdate parties.
This guide walks you through what to look for, how to make the most popular paper Halloween decorations with your family, and where to find supplies without stress or overspending.
Why Paper Halloween Decorations Are Perfect for Families
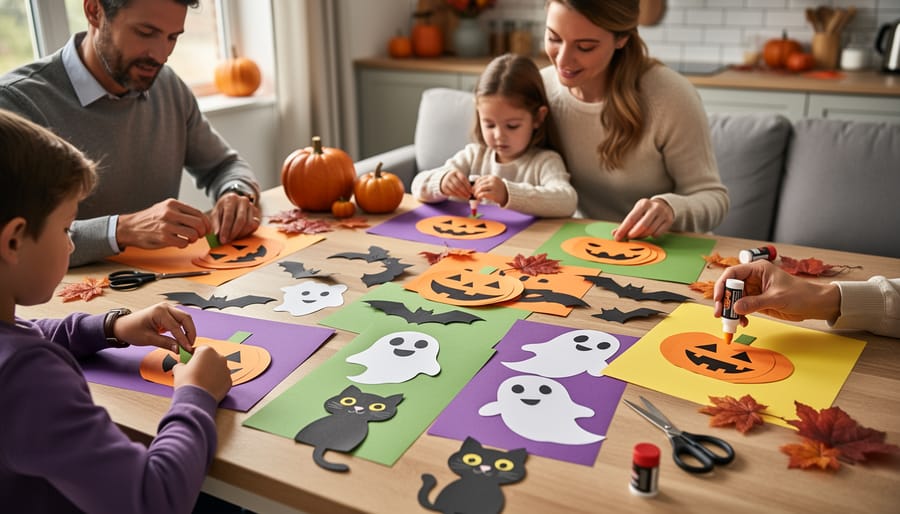
Paper Halloween decorations tick every box for busy families who want festive fun without the hassle. They’re genuinely affordable, whether you’re grabbing craft kits from stores like Michaels or Dollar Tree or assembling your own supplies, you won’t blow your budget creating a houseful of Halloween cheer. Unlike some craft materials that require constant supervision and serious cleanup, paper is forgiving and safe for little hands to handle with basic guidance.
What makes paper crafts especially wonderful is how they grow with your children. Paper cutting builds skills like hand-eye coordination and concentration in preschoolers, while older kids can tackle more intricate designs independently. You can customize every project to match your family’s style, whether that’s adorable and kid-friendly or a touch spookier for your big kids.
The real magic happens when you’re sitting together at the kitchen table, transforming flat paper into bats, pumpkins, and garlands. These aren’t just decorations; they’re traditions in the making. Years from now, your kids will remember crafting with you more than any store-bought display. It’s the glue-stick mishaps, the glitter everywhere, and the pride when they hang their creations that create the memories you’ll treasure.
What You’ll Need: Tools and Materials
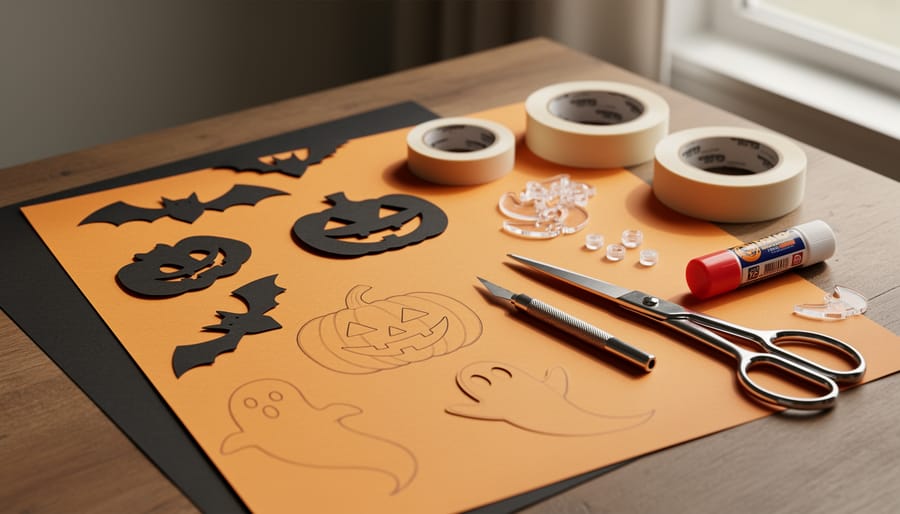
Choosing Between Craft Kits and DIY Supplies
I’ve found that the choice really comes down to your energy level and what kind of day you’re having. Craft kits are lifesavers when you’re short on time or dealing with multiple kids who want to jump straight into creating. Everything’s coordinated and ready to go, no hunting through drawers for that one hole punch you swear you saw yesterday. The bat craft sets and pumpkin garland kits give you structure, which helps when you’re supervising little hands and trying to keep everyone focused.
DIY supplies shine when you want flexibility or have older kids who thrive on making something truly their own. Gathering basic materials like cardstock, scissors, and string lets you switch projects mid-stream if inspiration strikes. It’s also more budget-friendly when you’re planning multiple craft sessions throughout October, since you’re not locked into specific project instructions.
Here’s what I’ve learned from other moms: keep both options available. Stock up on simple supplies at Dollar Tree for spontaneous afternoon projects, and grab a ready-made kit from Michaels for those evenings when you need a guaranteed win without the planning. There’s no wrong choice, whatever gets your family creating together is the right call.
Where to Shop in Canada
Finding the supplies you need doesn’t have to mean running all over town. Two of my go-to spots for paper Halloween decorations have made things beautifully simple this year.
Michaels has become my first stop for Halloween papercrafting projects. Their Halloween section includes everything from spooky banners and eerie greeting cards to haunted window art supplies. What I love most is their flexibility: you can shop in-store if you want to see the materials in person, choose Ship to Me for home delivery, or use Scheduled Delivery if you’re planning ahead for a specific craft day. On those weeks when getting out the door with kids feels impossible, having these options is honestly a lifesaver.
Dollar Tree is perfect when you need quick, budget-friendly supplies or want to stock up on extras without worry. Their Halloween paper treat bags feature adorable ghost designs with pumpkins and candy corn that kids absolutely love decorating. I usually grab a pack or two for party favors or last-minute craft sessions when friends come over.
Both stores make it easy to find what you need without the stress of hunting through multiple locations. The key is knowing what kind of project you’re planning, then choosing the store that fits your timeline and crafting style.
Safety Tips for Crafting with Kids
Crafting with kids is one of my favourite ways to spend an afternoon, but a little awareness goes a long way in keeping everyone safe and happy. The good news? Paper Halloween decorations are among the gentlest crafts you can do together, no hot glue guns or sharp carving knives required.
For toddlers and preschoolers (ages 2-4), supervision is key. Keep scissors out of reach and handle all the cutting yourself, letting little hands focus on gluing, sticking, and arranging pre-cut shapes. If you’re decorating paper treat bags from Dollar Tree or similar Dollarama Halloween decor finds, this age group loves stamping and colouring but shouldn’t handle small embellishments like googly eyes or buttons independently. Supervise detachable small parts closely to prevent choking risks.
Kids aged 5-7 can usually manage child-safe scissors with supervision, especially when cutting lighter cardstock for pumpkin garlands or bat crafts. Show them how to carry scissors properly (pointed down, handles forward) and sit while cutting. Hole punches are generally safe for this age, though hands can get pinched if they’re not paying attention, demonstrate once, then let them try.
By ages 8 and up, most children can work fairly independently with standard craft supplies, though it’s still wise to stay nearby while they’re using tools. Trust your own child’s coordination and attention span; you know them best.
How to Make Paper Halloween Decorations: Step-by-Step
Making a Paper Pumpkin Garland
Starting with the pumpkin garland kit is perfect if you want everything ready in one box. Open your kit and lay out all the pieces: the paper trimmer, hole punch, curling rod, jute twine, and your cardstock sheets in light and dark orange. I like to spread them across the kitchen table so little hands can see what we’re working with.
First, use the paper trimmer to cut your cardstock into pumpkin shapes. You can freehand draw them or fold the paper and cut a half-circle for symmetry. My daughter loves tracing cookie cutters for perfectly round pumpkins. Aim for about four inches tall so they show up well from across the room. Mix the light and dark orange sheets for variety.
Once you have your pumpkin shapes cut, punch a hole near the top of each one with the single-hole punch. Space the holes consistently so your garland hangs evenly. This is a great step for older kids to tackle independently while you supervise the younger ones.
Now comes the fun part: adding dimension. Take the metal curling rod and gently curl the edges of each pumpkin inward. Press the cardstock against the rod and pull it through in a smooth motion. This creates a slightly 3D effect that catches the light beautifully.
Thread your jute twine through the holes, spacing the pumpkins a few inches apart. Tie a knot on each side of every pumpkin to keep them in place. The natural twine adds a rustic touch that works anywhere in your home.
Creating Spooky Banners and Window Art
Banners and window clings are perfect for transforming your space without any permanent changes, ideal for renters or anyone who wants easy cleanup. Start with Michaels’ Halloween papercrafting kits, which include pre-designed templates for spooky banners and haunted window art. Kids can color or decorate the pieces before you assemble them, which adds their personal touch and keeps them engaged.
For banners, cut out the shapes (bats, pumpkins, witches) and punch holes in the top corners of each piece. Thread twine or ribbon through and space the shapes evenly. I like to let my daughter choose the order, sometimes her “pattern” is wonderfully chaotic, but it’s hers. Hang banners across mantels, doorways, or along staircases using removable hooks.
Window art works beautifully when you back the paper designs with clear contact paper, sticky side out, then press them to windows. They’ll catch the light and are easy to peel off later. Younger kids can arrange pre-cut shapes while older ones handle the cutting and assembly. These projects translate well into classroom-friendly crafts too, since they’re mess-free and don’t require drying time. Display them where they’ll be seen, front windows for trick-or-treaters or inside where your family gathers most.
Assembling Paper Treat Bags
The ghost-design paper bags from Dollar Tree make perfect little canvases for your kids’ creativity. Set them out with markers, stickers, or stamps and let each child personalize their own bag, they can add names, draw silly faces on the ghosts, or layer on extra pumpkins and candy corn designs. My daughter loves using orange and purple dot markers to fill in patterns around the printed designs, turning a simple bag into her own masterpiece.
These bags work beautifully for classroom Halloween parties or as trick-or-treat carriers for younger kids who aren’t quite ready for heavy buckets. You can also fill them with homemade treats or small toys for party favors. Pre-punch two holes at the top and thread through some black ribbon or orange yarn to create handles, it takes thirty seconds per bag and makes them so much easier for little hands to carry. The best part? Kids feel proud handing out or carrying something they decorated themselves, and you’ve got an easy, affordable project that keeps them engaged while you’re prepping for the big day.
Displaying Your Finished Decorations
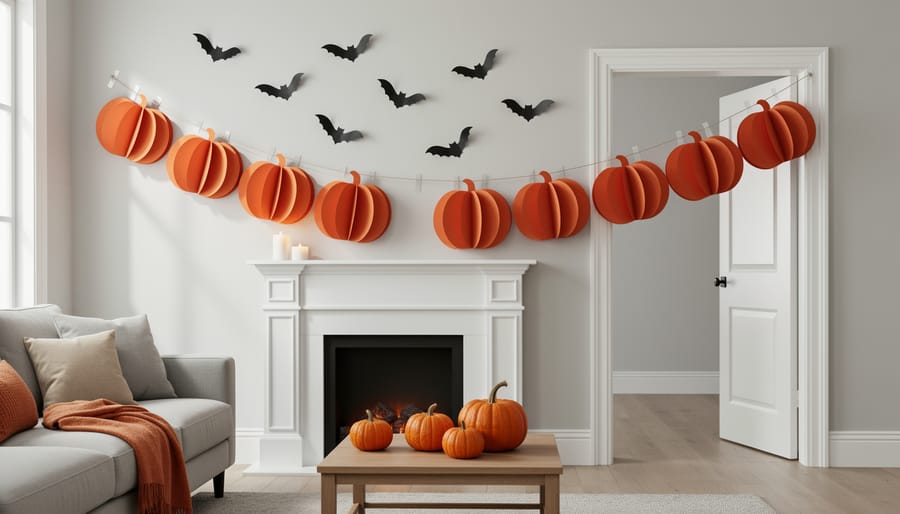
Once you and the kids have finished your paper Halloween decorations, it’s time for the best part: showing them off! Start with your windows. Paper pumpkin garlands and banner cutouts look fantastic taped along window frames where neighbors and trick-or-treaters can admire them from outside. Command strips or removable mounting putty work wonders here, keeping your decorations secure without pulling paint when October ends.
Your entryway deserves some love too. Hang a spooky banner across the front door or arrange paper treat bags filled with candy on a console table. If you’ve already tackled your lawn Halloween setup your paper crafts create a welcoming transition from outdoor displays to indoor festivities.
For party spaces, drape garlands across mantels or string them above the dining table. Those bat crafts the kids made? Attach fishing line and hang them at varying heights from the ceiling for a flying effect that looks surprisingly impressive. Paper decorations also work beautifully as place settings or centerpiece elements when you’re hosting Halloween gatherings.
Here’s a mom trick: let your children choose where their creations go. My daughter insists her paper pumpkins hang in her bedroom doorway every year, and honestly, that ownership makes her so proud. Use painter’s tape for kid-directed placement. It peels off easily when they change their minds three times before breakfast.
How to Know Your Decorations Are Ready and What to Do Next
Before you hang your creations around the house, take a moment to do a quick quality check, it saves tears later when a garland falls mid-party. Gently tug on any glued or taped connections to make sure they’re secure, and check that hanging strings or ribbons are firmly attached. If you’ve used cardstock pieces on twine (like those pumpkin garlands), slide them along the string to confirm they won’t bunch up or fall off when displayed.
Once everything passes the wiggle test, it’s time to celebrate! Snap photos of your kids holding their masterpieces before you put them up, these make wonderful memories and give you documentation for next year’s craft sessions. Let the kids help choose where each decoration goes; they’ll be so proud seeing their work displayed prominently.
If your family caught the crafting bug, consider expanding your Halloween decor collection with ghost decorations or planning another paper crafting session later in the week. You could create matching sets for grandparents or make extras to gift to teachers. The beauty of paper crafts is that you can always do more without breaking the bank or running out of creative possibilities.
Common Questions About Paper Halloween Decorations
How long do paper Halloween decorations last?
With gentle handling, paper decorations easily last through the entire Halloween season and can be stored for next year if kept dry and flat. Thicker cardstock projects like the pumpkin garlands hold up especially well, while delicate tissue paper crafts work best as single-season displays.
Can these decorations be reused next year?
Absolutely! Store finished decorations flat in a shallow plastic bin with tissue paper between layers to prevent creasing. Label the container so you can pull them out easily next October, and your kids will love seeing their handmade creations become part of your family’s Halloween tradition year after year.
What if my toddler isn’t interested in crafting?
That’s completely normal, and there’s no need to force it. Some toddlers prefer watching and offering “design advice” while you craft, or they might enjoy simpler tasks like peeling stickers or crumpling tissue paper. If crafting isn’t their thing right now, you can always revisit these projects when they’re a bit older.
How do I clean up glitter and paper scraps without losing my mind?
Set up your crafting station on a large sheet or old tablecloth that you can gather up when you’re done, funneling scraps straight into the recycling. For glitter projects, work inside a cardboard box lid to contain the sparkle, and keep baby wipes handy for sticky fingers before anyone touches the furniture.
Storage really makes the difference between decorations that last and ones that end up crumpled in the back of a closet. Flat storage works best for paper crafts. Those under-bed storage containers are perfect because they keep everything accessible without taking up closet space. If you made garlands or banners, you can roll them loosely around a paper towel tube before storing to prevent sharp creases.
When it comes to displaying delicate paper crafts, location matters. Keep tissue paper projects away from heating vents and direct sunlight, which can fade colors quickly. The papercrafting projects from stores like Michaels tend to use heavier cardstock that holds up better in high-traffic areas, while homemade tissue paper ghosts are happiest hanging in protected spots like bedroom windows.
Don’t stress if some decorations don’t survive the season. Part of the charm of paper crafts is their impermanence. Your kids won’t remember whether every decoration made it to November first, but they will remember the afternoon you spent laughing together while cutting out wonky bats and arguing over the best spots to hang them.
Making paper Halloween decorations with your family isn’t about achieving Pinterest-perfect results. It’s about the giggles when the glue gets everywhere, the pride on your toddler’s face when they finish their first paper bat, and the memories you’re creating together this season. Whether you picked up a craft kit from Michaels or grabbed supplies from Dollar Tree, what matters is the time you spent side by side, scissors in hand, transforming ordinary paper into something special.
These decorations hanging on your walls and windows tell a story that no store-bought decor ever could. They’re proof of an afternoon well spent, of little hands learning new skills, and of a family choosing to slow down and create something together. Some pumpkins might be lopsided, and that banner might not hang perfectly straight, but they’re yours.
We’d love to see what you and your kids created. Share your paper Halloween decorations with the Mommy’s Nest community. Your photos and stories inspire other moms to embrace the beautiful mess of crafting with their children. After all, we’re all in this together, making memories one paper pumpkin at a time.